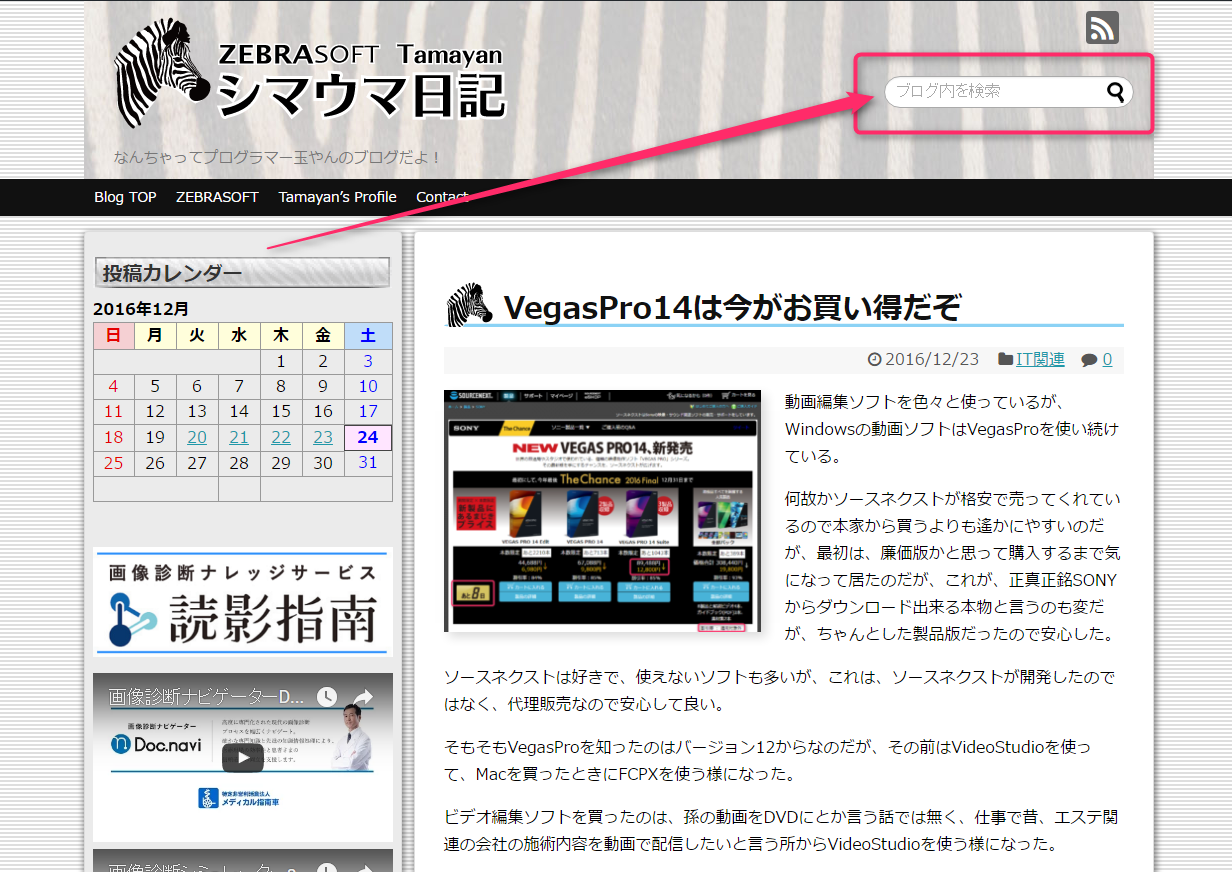
 検索ボックスをサイドバーに出しているとどうにも上下に隙間が多すぎて冗長な気がした。
そこで、前のブログのようにヘッダー領域に表示する方法を探したけど、親テーマに数行書き加える必要があるので備忘録として記事を残しておく。
まず子テーマのStyle.cssに
/*---------------------------------
検索ボックス
--------------------------------*/
#header .searchform{
margin-right: 20px;
margin-top: 50px;
}
#searchform {
width: 250px;
}
そして、親テーマのheader.phpに
<!DOCTYPE html>
<html <?php language_attributes(); ?>>
<head>
<?php
//////////////////////////////////
//ウェブマスターツール用のID表示
//////////////////////////////////
if ( get_webmaster_tool_id() ): ?>
<meta name="google-site-verification" content="<?php echo get_webmaster_tool_id() ?>" />
<?php endif;//ウェブマスターツールID終了 ?>
<meta charset="<?php bloginfo('charset'); ?>">
<?php //ビューポート ?>
<meta name="viewport" content="width=device-width,initial-scale=1">
<link rel="alternate" type="application/rss+xml" title="<?php bloginfo('name'); ?> RSS Feed" href="<?php bloginfo('rss2_url'); ?>" />
<link rel="pingback" href="<?php bloginfo('pingback_url'); ?>" />
<?php //AMPの案内タグを出力
if ( has_amp_page() ): ?>
<link rel="amphtml" href="<?php echo get_amp_permalink(); ?>">
<?php endif ?>
<?php //Wordpressのバージョンが4.1以下のとき
if ( get_wordpress_version() < 4.1 ):
get_template_part('header-title-tag');
endif; ?>
<?php get_template_part('header-seo');//SEOの設定テンプレート?>
<?php //wp_enqueue_script('jquery');//jQueryの読み込み?>
<?php the_apple_touch_icon_tag();//Appleタッチアイコンの呼び出し ?>
<?php if ( is_facebook_ogp_enable() ) //Facebook OGPタグ挿入がオンのとき
get_template_part('header-ogp');//Facebook OGP用のタグテンプレート?>
<?php if ( is_twitter_cards_enable() ) //Twitterカードタグ挿入がオンのとき
get_template_part('header-twitter-card');//Twitterカード用のタグテンプレート?>
<?php get_template_part('header-insert');//ユーザーが子テーマからヘッダーに何か記述したい時に利用するテンプレート?>
<?php get_template_part('head-custom-field');//カスタムフィールドの挿入(カスタムフィールド名:head_custom)?>
<?php wp_head(); ?>
</head>
<body <?php body_class(); ?> itemscope itemtype="http://schema.org/WebPage">
<div id="container">

<!-- header -->
<header itemscope itemtype="http://schema.org/WPHeader">
<div id="header" class="clearfix">
<div id="header-in">

<?php //カスタムヘッダーがある場合
// $h_top_style = '';
// if (get_header_image()){
// $h_top_style = ' style="background-image:url('.get_header_image().')"';
// } ?>
<div id="h-top"<?php //echo $h_top_style; ?>>
<?php get_template_part('button-menu'); //モバイルメニューボタンの呼び出し?>

<div class="alignleft top-title-catchphrase">
<?php get_template_part('header-logo');?>
</div>

<div class="alignright searchform">
<?php get_search_form(); ?>
</div>

<div class="alignright top-sns-follows">
<?php if ( is_top_follows_visible() ): //トップのフォローボタンを表示するか?>
<?php get_template_part('sns-pages'); //SNSフォローボタンの呼び出し?>
<?php endif; ?>
</div>

</div><!-- /#h-top -->
</div><!-- /#header-in -->
</div><!-- /#header -->
</header>

<?php if (is_navi_visible())://ナビゲーションが表示のとき
get_template_part('navi');//グローバルナビのためのテンプレート
endif; ?>

<!-- 本体部分 -->
<div id="body">
<div id="body-in">

<?php get_template_part('before-main'); //メインカラーの手前に挿入するテンプレート(3カラム作成カスタマイズ時などに) ?>

<!-- main -->
<main itemscope itemprop="mainContentOfPage">
<div id="main" itemscope itemtype="http://schema.org/Blog">
この当たりに割り込ませて、位置はCSSの方で調整すればOK
とっても簡単


コメント